February 1, 2026 · By Abraham Wix-Expert
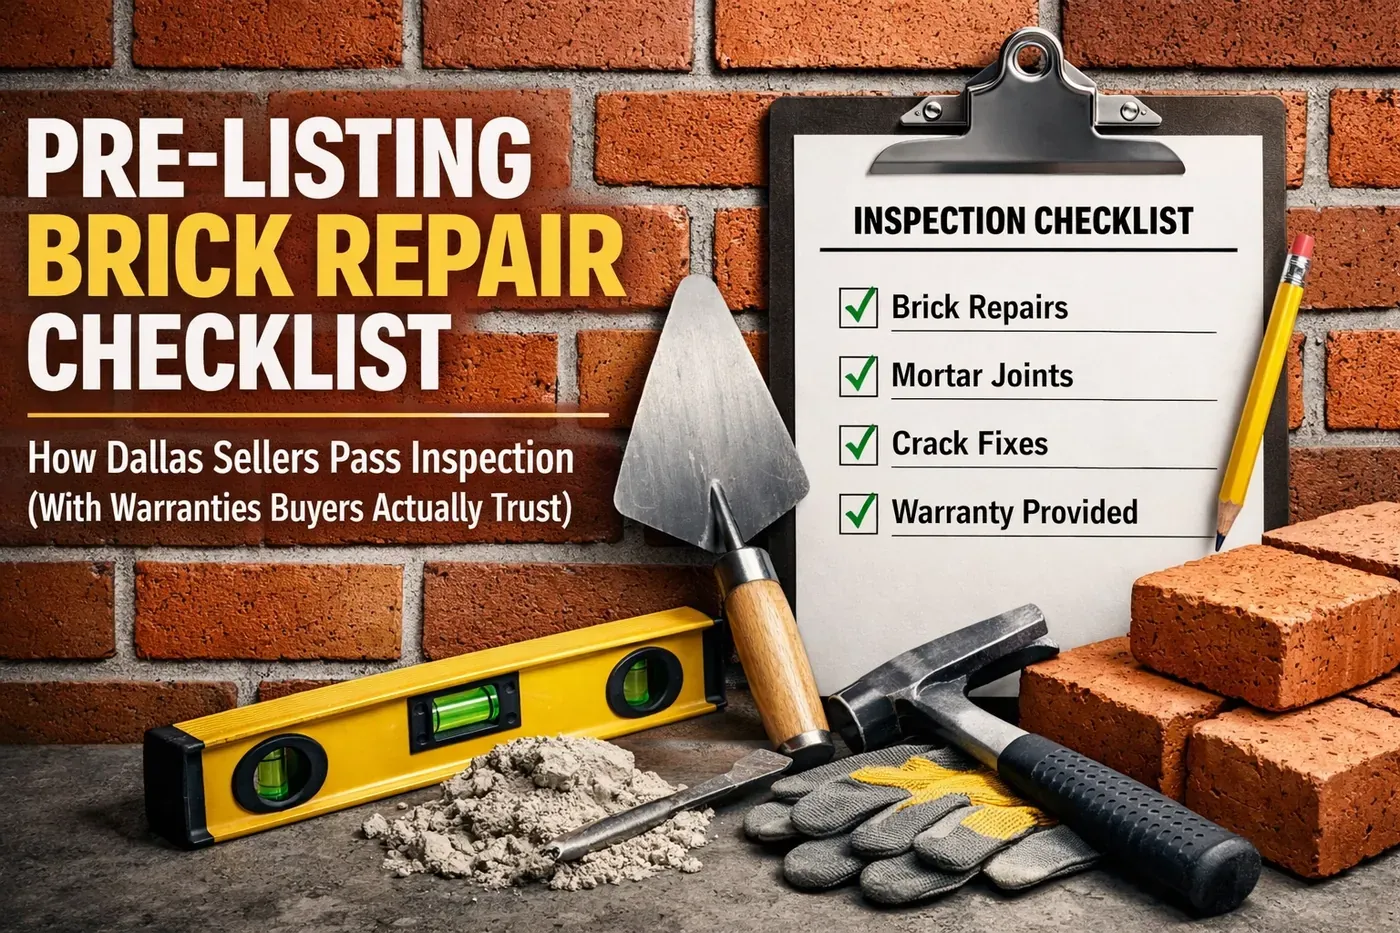
Your listing photos look sharp. Your staging is flawless. Then the buyer's inspector flags $15,000 in masonry issues you didn't know existed.
This happens to Dallas sellers every week. Brick and mortar problems that seem minor to homeowners trigger massive concern during inspections: and give buyers powerful negotiating leverage or cold feet.
Address these issues before you list, and you'll pass inspection cleanly while demonstrating the kind of proactive maintenance that serious buyers value.
North Texas clay soil shifts constantly. Your foundation moves. Your brick doesn't flex: it cracks.
Inspectors know this. They look specifically for masonry damage because it signals potential structural problems and water infiltration. Even cosmetic issues raise questions about overall home maintenance.
Buyers see cracked bricks and imagine foundation failure. They see stained mortar and picture mold behind the walls. Fair or not, visible masonry damage creates doubt about everything else you're claiming works perfectly.
Tip: Most masonry repairs take 1-3 days. Schedule the work at least two weeks before your listing goes live to allow for weather delays and proper curing time.
Walk your property with this checklist in hand. Inspect in good daylight, preferably after a rain when water damage is most visible.
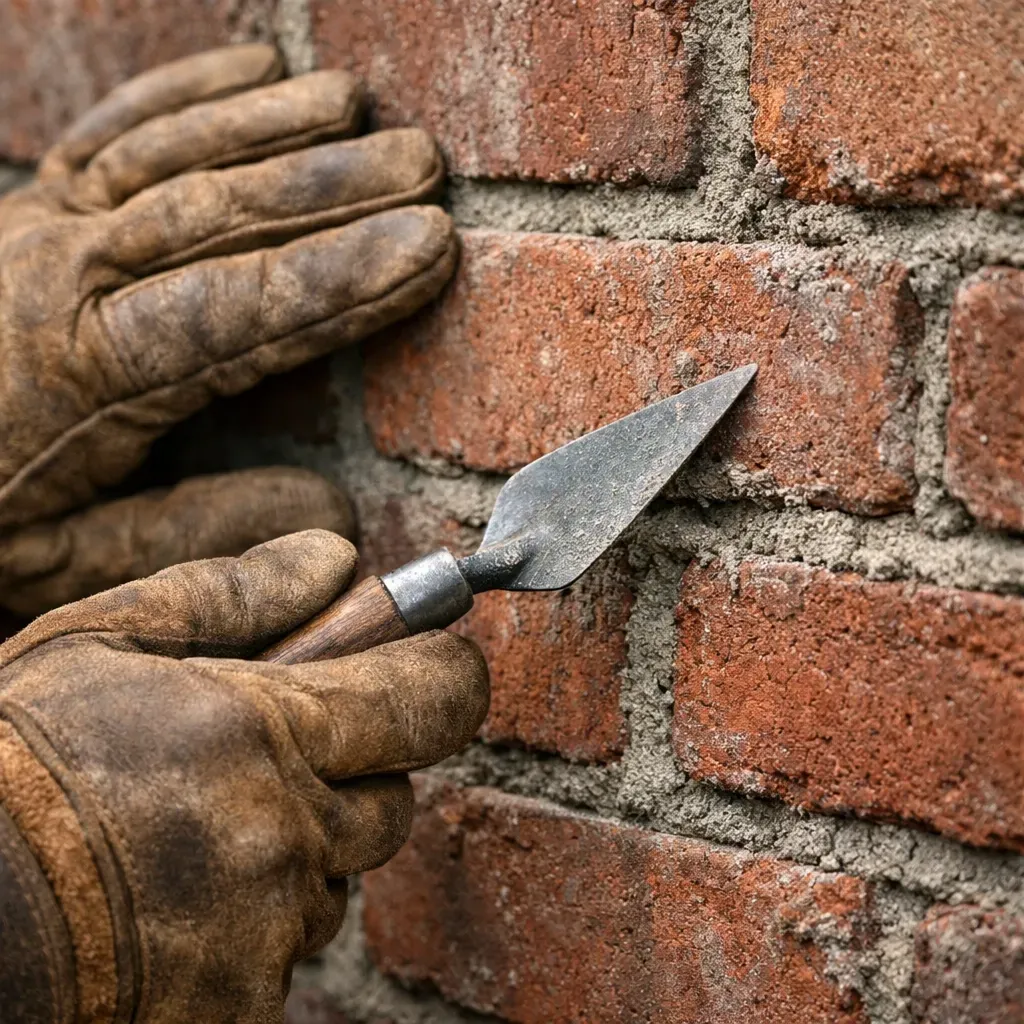
Check every exterior wall for deteriorated mortar. Run your hand along the joints: if mortar crumbles or falls out easily, it needs repointing.
Look for:
Gaps or missing sections in mortar joints
Mortar that's recessed more than 1/4 inch from the brick face
Powdery, sandy texture when you touch the joints
Vertical cracks running through multiple mortar beds
Old mortar doesn't just look bad. It allows water infiltration that damages the brick, wall cavity, and interior spaces. Inspectors flag this immediately because it indicates deferred maintenance.
Professional repointing removes deteriorated mortar to a depth of 3/4 to 1 inch, then replaces it with properly matched mortar. This isn't a DIY project: the mortar mix must match the original's strength and composition, or you'll cause more damage.
Inspect individual bricks for:
Vertical cracks running through the brick face
Step cracks following the mortar joints in a stair-step pattern
Spalling: surface flaking or chunks breaking off
Loose bricks that move when pushed
Step cracks often indicate foundation settlement. Single vertical cracks may result from impact or thermal stress. Surface spalling typically signals water damage: moisture gets inside the brick, freezes, and pops the face off.
Document the location and extent of each issue. Inspectors will note crack patterns because they reveal whether you're dealing with isolated damage or systemic structural movement.
Caution: Don't paint over spalling bricks. Paint traps moisture and accelerates deterioration. Damaged bricks must be removed and replaced with matching units.
Stand back and look at the brick above every garage door, window, and archway. You're checking for the telltale signs of lintel failure.
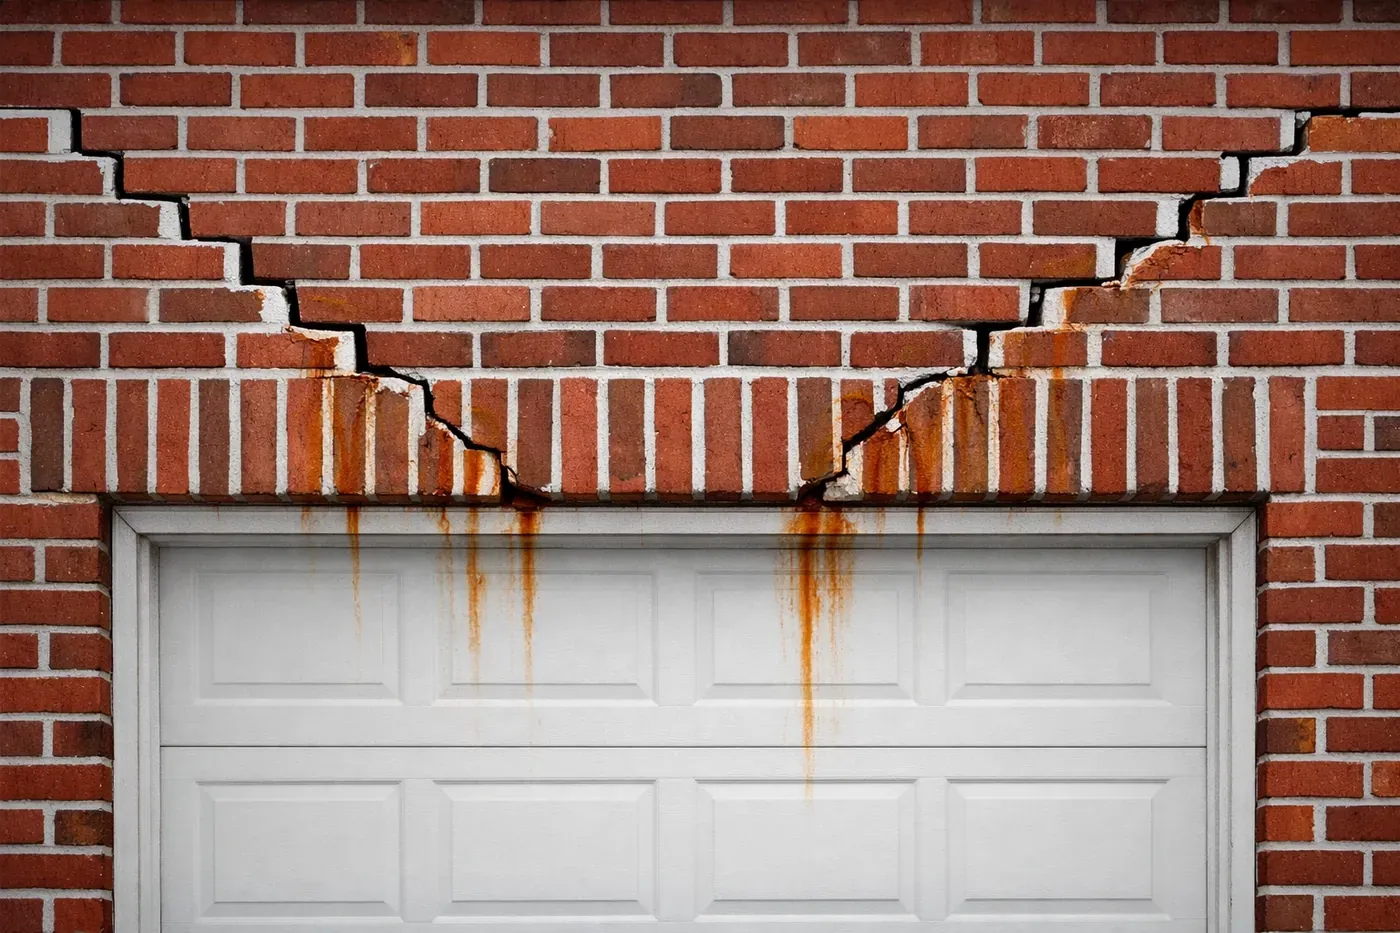
Watch for:
Stair-step cracks radiating from the corners
Horizontal cracks directly above the opening
Sagging or bowing in the brick course above the door
Rust stains bleeding through the mortar
These issues indicate the steel lintel supporting the brick is rusting, rotating, or failing. Left unaddressed, the entire brick section can collapse.
Traditional lintel repair requires removing multiple courses of brick, replacing the steel, and rebuilding the wall: expensive and time-consuming. Modern solutions like LintleLOCK™ secure existing lintels without full reconstruction, often at half the cost.
Buyers' inspectors pay special attention to garage lintels because failure is common in North Texas homes built between 1970-2000.
Walk your property after a rain and look for:
Efflorescence: white, powdery deposits on brick surfaces
Dark staining below windows or at the roofline
Soft spots in mortar or brick
Mold or mildew near the foundation
Efflorescence indicates water is moving through your brick and bringing dissolved salts to the surface. This means your wall cavity is getting wet: a major red flag for inspectors.
Check the ground-level brick for dark staining or deterioration. Poor drainage concentrates water at the foundation, leading to accelerated brick damage and potential foundation issues.
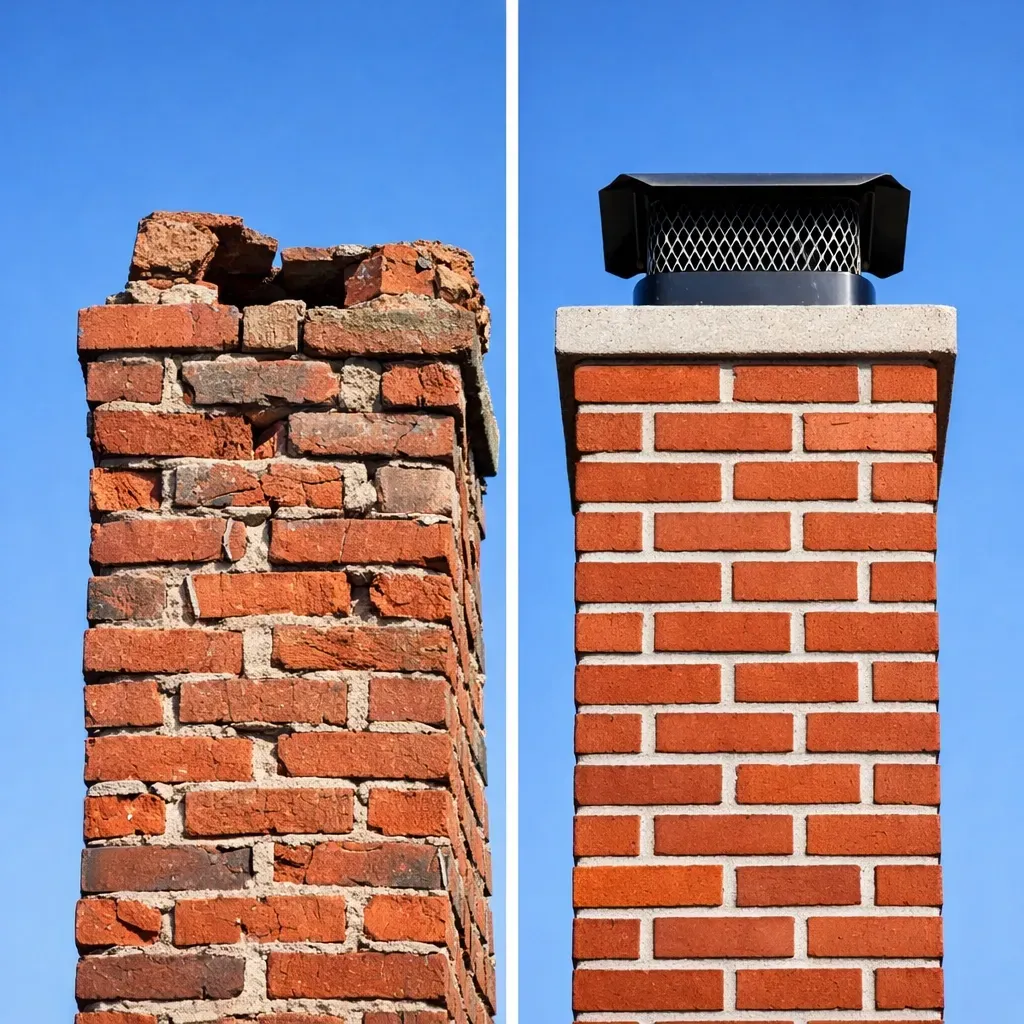
Inspect your chimney from ground to cap:
Leaning or tilting indicates foundation problems
Crumbling brick at the top suggests water damage
Missing or damaged chimney cap allows water infiltration
Gaps between chimney and siding create entry points for water and pests
Chimneys are freestanding structures with their own foundations. They settle independently from the house, creating gaps and cracks that inspectors note as potential hazards.
A visibly damaged chimney kills curb appeal instantly. Buyers see it from the street and assume the entire house suffers from neglect.
Tip: Budget $1,500-$4,000 for chimney repairs depending on height and extent of damage. Compare this to the $10,000+ in price reductions buyers will demand if the inspector flags major chimney issues.
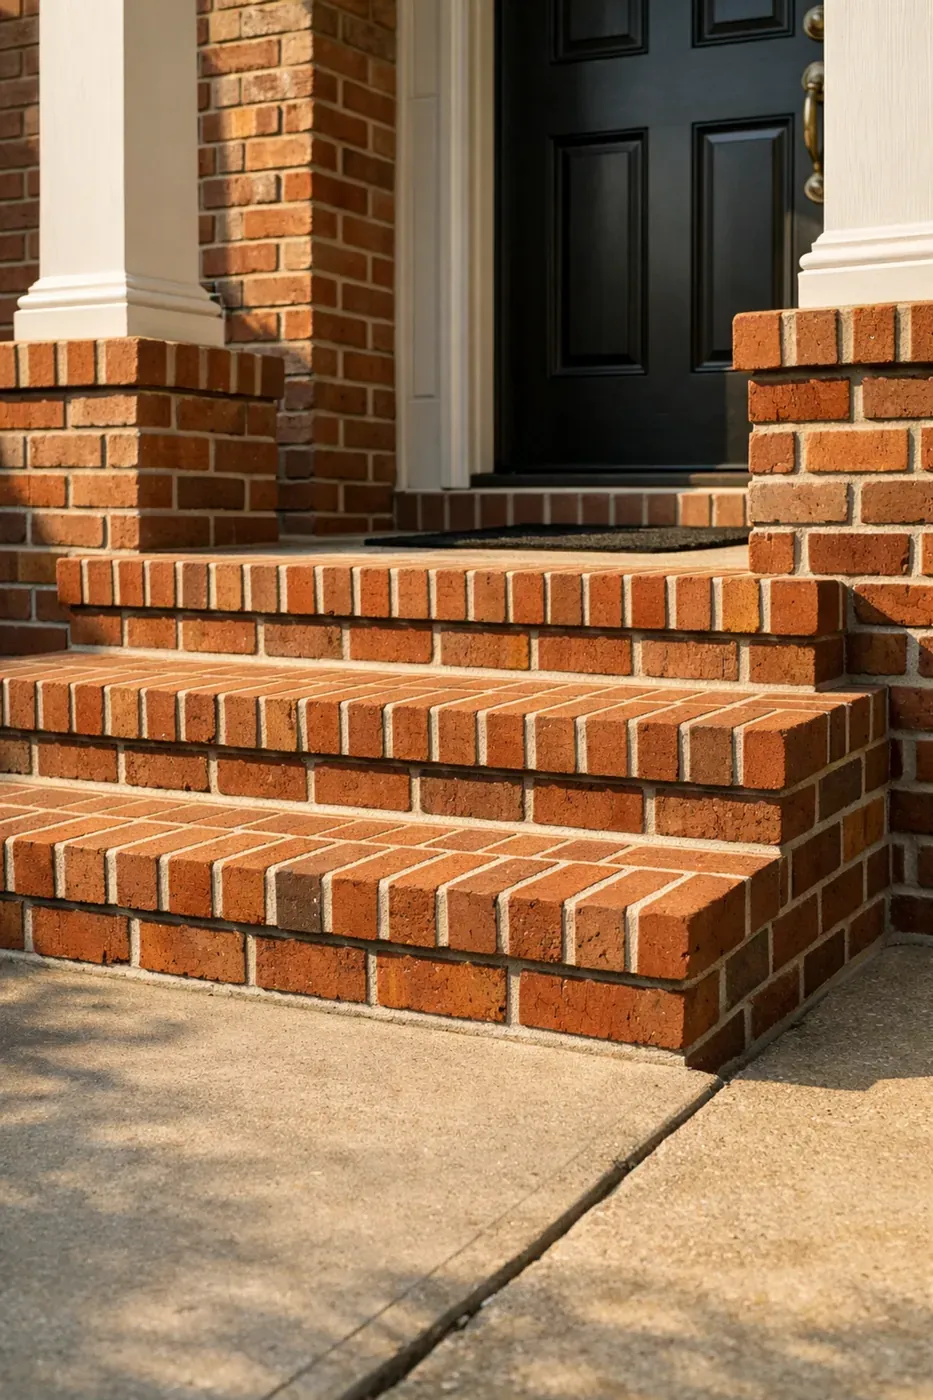
Check brick steps, columns, and entryway features for:
Loose or wobbly bricks in steps or columns
Settling that creates uneven surfaces
Cracks at corners or where brick meets concrete
Mortar deterioration in high-traffic areas
Entryway damage impacts both safety and first impressions. Inspectors flag loose bricks as tripping hazards and liability concerns.
Brick steps often settle independently from the main structure, creating gaps and instability. This requires removing affected sections, stabilizing the base, and rebuilding: not just patching mortar.
Examine the metal flashing around:
Window and door perimeters
Roof-to-wall transitions
Chimney base
Any brick-to-wood connections
Look for:
Rust or corrosion on metal flashing
Gaps or separations between flashing and brick
Missing or damaged flashing
Caulk that's cracked or pulling away
Flashing failure allows water to enter wall cavities, causing hidden damage that's far more expensive than the flashing repair. Inspectors use moisture meters to detect this: your beautiful brick exterior won't hide interior water damage.
6-8 weeks before listing: Get professional masonry inspections to identify all issues and obtain detailed repair quotes.
4-6 weeks before listing: Complete major repairs like lintel work, chimney rebuilding, or extensive repointing. These require good weather and proper curing time.
2-3 weeks before listing: Finish minor repairs, brick replacement, and touch-up work.
1 week before listing: Final walkthrough to verify all work is complete and properly cleaned up.
Most masonry contractors in Dallas can schedule work within 1-5 business days, but larger projects may require 2-3 weeks' notice. Don't wait until you've accepted an offer and are under contract: you'll have no negotiating power and limited time.
Buyers don't trust "guaranteed for life" or vague assurances. They want specific, transferable warranties that clearly state what's covered.
Look for repair warranties that include:
Structural coverage for the repaired area (minimum 5 years, ideally lifetime)
Material and workmanship guarantees in writing
Transferability to the new owner
Specific coverage terms: what's included and what's not
Licensed contractor backing with verifiable business credentials
A lifetime structural warranty on brick repair work gives buyers confidence that you've invested in quality repairs, not cosmetic patches.
Caution: A warranty is only as good as the company behind it. Verify your contractor maintains proper licensing, insurance, and has been in business long enough to honor long-term warranties.
Home inspectors in Texas follow the Texas Real Estate Commission Standards of Practice. For masonry, they evaluate:
Overall structural integrity
Visible cracks, deterioration, or damage
Water intrusion indicators
Safety hazards (loose brick, unstable structures)
General maintenance condition
They don't tear apart your walls or perform destructive testing. They report what's visible and what raises concern based on industry standards.
This means properly completed repairs that match the existing brick and show no visible defects will pass inspection without issue. Sloppy patches, mismatched mortar, or incomplete work will get flagged even if structurally sound.
Pre-listing masonry repairs rarely increase your sale price dollar-for-dollar. That's not the point.
The value comes from:
Passing inspection cleanly without buyer requests for credits or repairs
Maintaining your asking price instead of negotiating down
Presenting a well-maintained home that attracts serious buyers
Avoiding deal-killing surprises during the option period
Providing documentation of professional repairs with warranties
A buyer who gets a clean inspection report has one less reason to negotiate. Multiple buyers competing for your home won't have ammunition to justify lower offers.
Your $3,000 investment in lintel repair prevents the $8,000 credit the buyer would have demanded: plus you control the contractor choice and quality instead of accepting whatever cheap fix the buyer arranges.
Waiting until after the inspection. You lose all leverage once buyers have a detailed list of issues from their inspector.
Hiring the cheapest contractor. Low bids often mean improper materials, shortcuts, or incomplete repairs that fail re-inspection.
Patching instead of fixing. Smearing mortar over cracks without addressing the underlying cause creates temporary cosmetics that inspectors see through immediately.
Skipping the warranty. Buyers increasingly expect transferable warranties on major repairs. "My buddy fixed it" doesn't reassure anyone.
Ignoring proper mortar matching. Bright white mortar on 30-year-old brick screams "patch job" and raises questions about what else you're hiding.
Before your listing photos are shot, do a final walkthrough specifically for brick and masonry:
All repairs are complete and properly cured
Work areas are cleaned: no mortar smears or construction debris
Repaired areas match the existing brick in color and texture
No visible cracks, gaps, or unfinished sections
Flashing and caulk are intact and weathertight
You have written warranties and contractor documentation ready for buyers
Take photos of completed repairs and keep contractor invoices. Some buyers or their agents will ask for documentation of recent work.
Schedule your pre-listing masonry inspection this week. Whether you've owned the home for three years or thirty, brick damage develops gradually and often goes unnoticed until someone specifically looks for it.
Address issues now on your timeline and budget, or address them later under buyer pressure with inspection deadlines looming. The repairs will happen either way: you're just deciding who controls the process.
Professional brick repairs with solid warranties demonstrate pride of ownership. They show buyers you've maintained the home properly and they won't inherit deferred maintenance headaches.
That confidence is worth more than any negotiated price reduction.
Cracks are ugly — let Champion Brick Repair fix them right, with mortar matched to your home and a lifetime warranty.